Guides
Redesign Any Room From a Single Photo With AI
July 12, 2026 · 8 min read
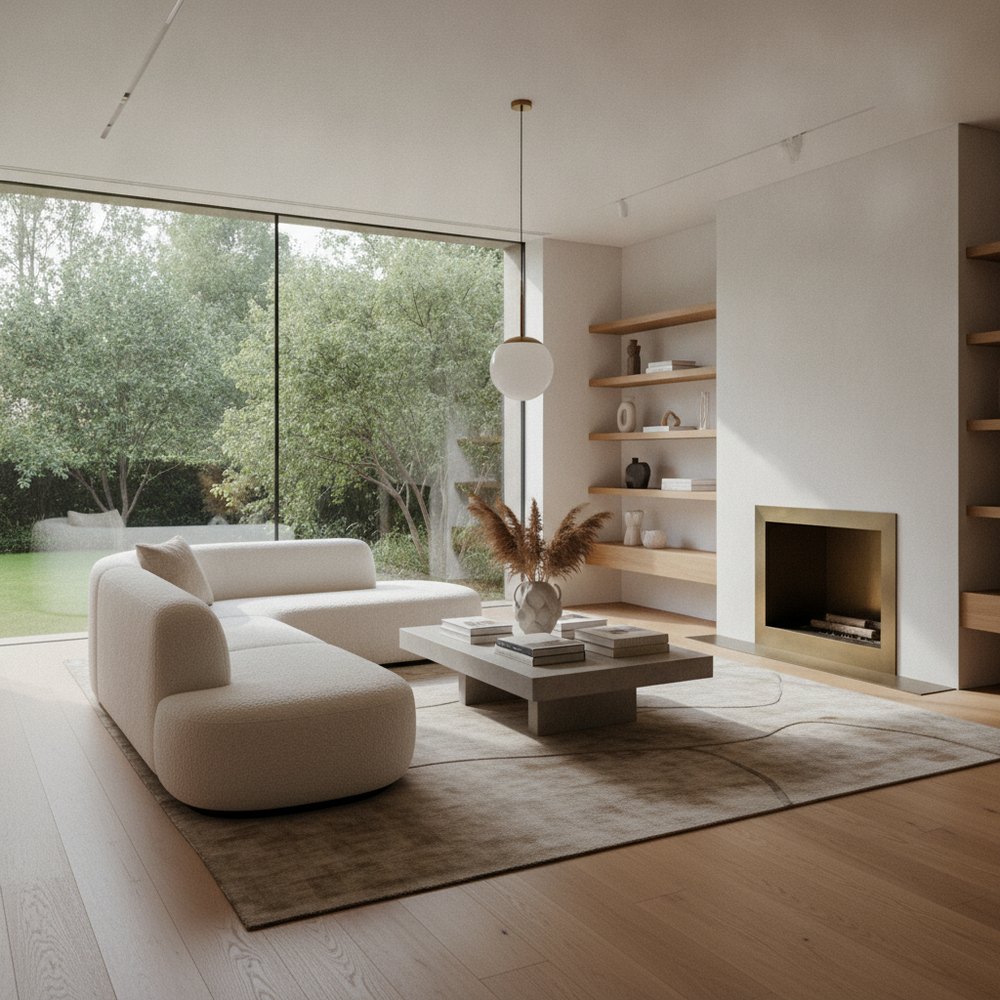
To redesign a room from a photo with AI, take one clear, straight-on shot in daylight, upload it to a photo-based tool, pick a style, and generate. Because the AI preserves your real windows, doors and proportions, the render shows your actual room reimagined, ready to shop and build from.
Can you really redesign a room from just one photo?
Yes. Modern photo-based AI tools read the geometry of your space from a single image and re-render it in a new style while keeping the layout fixed. You do not need floor plans, measurements or 3D modelling skills to start.
The key is that a good tool redesigns rather than invents. Instead of generating a random room, Decorly preserves your windows, doors, ceiling height and camera angle, so the result is recognisably your room, just transformed. That is what makes the output useful rather than merely pretty.
How do you take the best photo for an AI redesign?
The quality of your render depends heavily on the quality of your photo. A few simple habits make a dramatic difference to the result.
- Shoot straight-on — Stand square to the main wall rather than at a sharp angle, so the AI reads the space clearly.
- Use daylight — Open curtains and shoot in the day; even, natural light beats harsh lamps or flash.
- Capture the whole room — Include the floor, ceiling and at least two walls to give the AI context.
- Tidy first — Clear clutter so the redesign focuses on the space, not on stray objects.
- Hold the camera level — Avoid tilting up or down, which distorts proportions and confuses scale.
How do you choose the right style?
The best part of redesigning from a photo is that you can try several directions on your actual room before committing. Rather than guessing, compare a few styles side by side and see which suits your light, architecture and taste.
If you are unsure where to begin, start with broadly flattering, liveable looks. Scandinavian suits bright rooms that want warmth and simplicity, minimalist works when you crave calm and order, and Japandi blends the two for a serene, natural feel. Browse the best styles guide if you want a wider tour first.
How do you iterate to get a better result?
Your first render is a starting point, not the finish line. Treat the process as a conversation: generate, react, and refine until the room feels right.
- 1Generate a first version in your chosen style and see how it reads.
- 2Compare two or three styles on the same photo to sense-check your direction.
- 3Adjust the brief if something feels off, nudging colour, mood or furniture density.
- 4Regenerate and keep the versions you like in a shortlist.
- 5Pick a favourite that balances how it looks with what you can realistically buy and build.
What mistakes should you avoid?
Most disappointing results trace back to a handful of avoidable errors. Sidestep these and your redesigns will be far more useful.
- Blurry or dark photos — Poor input always produces a weaker render; reshoot rather than settle.
- Extreme angles — A photo taken from a doorway corner distorts the room and the result.
- Chasing fantasy — A render with an unbuildable layout is inspiring but useless as a plan.
- Ignoring scale — Love a look, but check the furniture would actually fit your real dimensions.
- Stopping at one render — The value of AI is fast iteration, so use it and compare options.
How do you turn a render into a real plan?
A beautiful render only pays off if you can act on it. Because a layout-true redesign keeps your real proportions, it doubles as a practical shopping and building brief.
Study the render for the pieces that create the look, then measure your room and match furniture to those dimensions. Use the image to guide colour choices, source similar items, and brief any tradespeople or a designer with a clear visual target. For layout confidence, pair it with a furniture placement guide so the finished room flows as well as it looks.
Which rooms and spaces can you redesign this way?
The same single-photo workflow works far beyond the living room. You can redesign bedrooms, kitchens, bathrooms and home offices, and the best tools extend to exteriors and gardens too.
That breadth matters for whole-home projects, because a consistent approach keeps every space coherent. Redesign your living room, refresh a small bedroom, then step outside for curb appeal, all from photos. Start with one room at Decorly and expand from there.
Frequently asked questions
How do I redesign a room from a photo?
Take one clear, straight-on photo in daylight, upload it to a photo-based AI tool, choose a style and generate. Because the tool preserves your real layout, the render shows your actual room reimagined in the new style.
What makes a good photo for AI room design?
Shoot square to the main wall in natural daylight, capture the floor, ceiling and two walls, keep the camera level, and tidy clutter first. Clear, well-lit, straight-on photos produce far more realistic redesigns.
Will the AI keep my room's real layout?
A photo-based tool like Decorly preserves your windows, doors, ceiling height and camera angle, so the redesign stays true to your actual room rather than inventing a new one. That is what makes the result buildable.
Can I try more than one style on my room?
Yes, and you should. Generating two or three styles on the same photo lets you compare directions on your real space before committing, which is far more reliable than guessing from mood boards.
How do I turn an AI render into a real makeover?
Identify the key pieces in the render, measure your room, and match furniture to those dimensions. Use the image to guide colour and sourcing, and to brief tradespeople or a designer with a clear visual target.