Guides
The Complete Room Transformation Guide
July 11, 2026 · 9 min read
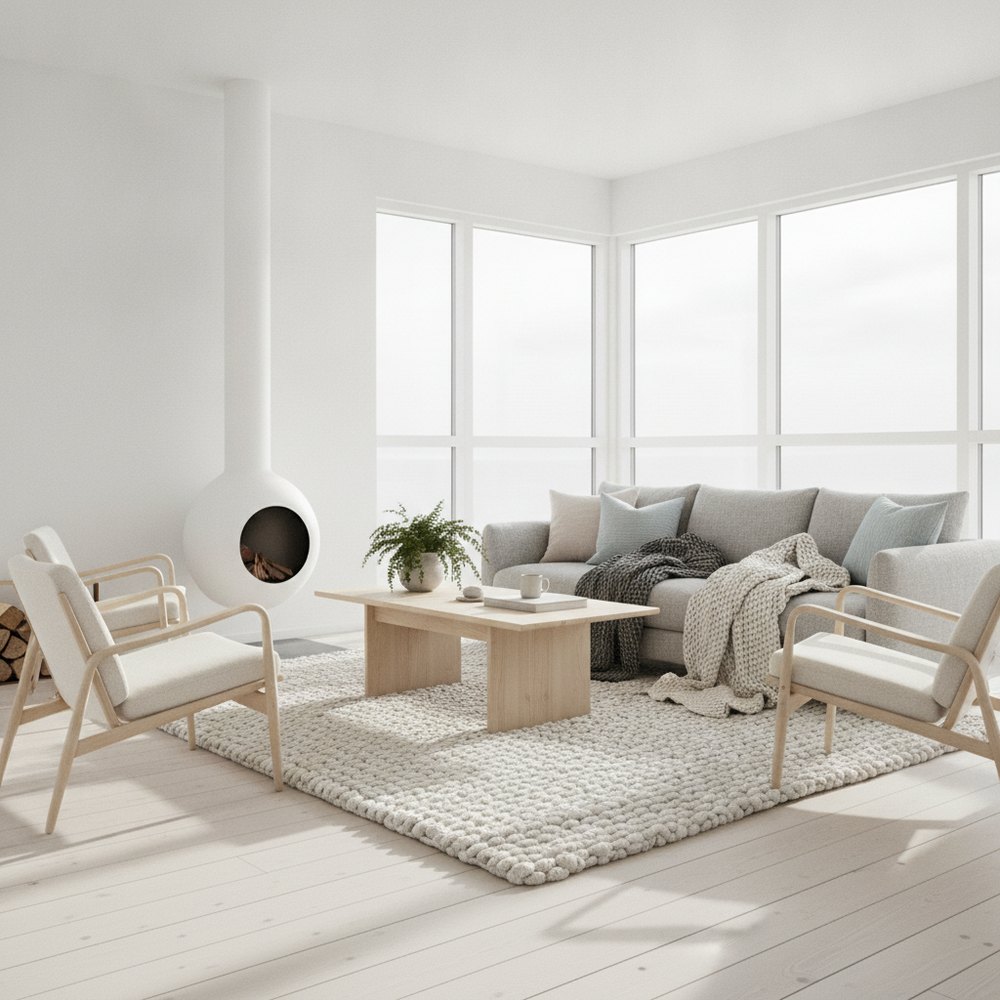
A room transformation is the step-by-step process of taking a space from empty or dated to fully finished. The reliable order is: assess the room honestly, plan the layout around a focal point, choose one style and palette, layer the lighting, select materials, then style and finish. Following the sequence prevents costly mistakes.
What is a room transformation, step by step?
A room transformation is a designed change of a space, not just buying new things, but working through a sequence of decisions in the right order so the result feels cohesive rather than accumulated. The same process works for any room, whether you start from empty or update something dated.
The order matters because each step constrains the next. Layout dictates what furniture fits; style dictates the palette; palette dictates materials; and lighting has to be planned early because it is partly wired in. Skip ahead and you end up redoing work.
None of this requires a big budget or a professional, it requires sequence. The difference between a room that looks accumulated and one that looks designed is almost always whether these decisions were made in order or piecemeal over years of well-meaning purchases.
- 1Assess the room and what it needs to do.
- 2Plan the layout around a focal point.
- 3Choose one style and a colour palette.
- 4Layer the lighting: ambient, task and accent.
- 5Select materials, textures and finishes.
- 6Style, accessorise and finish.
Step 1: How do you assess a room honestly?
Every good transformation starts with an honest audit of what you have. Before choosing anything new, understand the room's fixed features, its light, and how it actually needs to function.
Spend real time here. An hour spent understanding how a room is used and lit saves days of second-guessing later, and it is the step most people skip in their rush to buy things. A room that fights its own light or ignores how it is really used never quite settles, however nice the furniture.
- Note what cannot change, windows, doors, radiators, the room's aspect and proportions.
- Track the light through the day: which direction it faces and where it falls.
- Define the room's job, sleep, work, cook or gather, and any secondary uses.
- Be honest about what is not working now, so the transformation solves real problems.
Step 2: How do you plan the layout?
Layout is the skeleton of the room, and it comes before style or colour because everything else sits on top of it. Start by finding the focal point, the feature the eye should land on, and build the arrangement around it.
- Identify the focal point: a window, fireplace, bed or the main view.
- Arrange primary furniture to face or frame that focal point.
- Leave clear traffic paths (around 75 to 90cm) so people move naturally.
- Pull large pieces slightly off the walls to create zones and breathing room.
- Balance the visual weight so one side of the room is not heavier than the other.
Step 3: How do you choose a style and palette?
Choose the style from how you want the room to feel, not from a label, bright and airy, warm and grounded, or rich and dramatic, then match that feeling to a coherent look and let it guide every later decision.
Whichever you choose, commit to one dominant style and let a second appear only as a light accent. The most common reason a room feels busy is not too much furniture but too many competing ideas, and picking a clear direction is what makes every later choice easier and quicker.
- Scandinavian: bright, pale woods, cosy textures.
- Japandi: calm, grounded, natural and tactile.
- Minimalist: pared-back, clutter-free, less but better.
- Modern: clean lines, a neutral base, bold accents.
- Luxury: rich materials and layered, hotel-like light.
How does the 60/30/10 palette rule work?
For the palette, the classic guide is roughly 60/30/10: about 60 percent a dominant neutral, 30 percent a secondary colour, and 10 percent an accent. Keep large, permanent items in the neutral and save the accent for the swappable things.
This keeps a room balanced and stops any one colour overwhelming it. Our guide to wall colour psychology helps you pick colours by the mood they create, and you can preview a palette on your own walls before buying paint.
Step 4: How do you layer the lighting?
Lighting is what makes a finished room feel finished, and it has to be planned before decoration because much of it is wired or positioned early. Never rely on a single overhead source.
- Ambient general light that fills the room evenly.
- Task focused light for reading, cooking, working or grooming.
- Accent mood and highlights that add depth and warmth.
Step 5: How do you choose materials and finishes?
Materials give a room its character and are what the eye and hand register as quality. The goal is contrast and cohesion at once, enough variety in texture to feel rich, held together by a consistent palette.
Aim for several light sources at different heights, warm-white bulbs (around 2700K) in relaxing spaces, and dimmers so the room can flex through the day; our best lighting for every room guide gives room-by-room specifics.
- Layer textures, wood, stone, metal, glass, linen and wool, so surfaces feel considered.
- Mix matte and reflective finishes to add depth and catch light.
- Repeat a material or tone across the room to tie the scheme together.
- Choose durable finishes where there is wear, floors, worktops and upholstery.
Step 6: How do you style and finish the room?
Styling is the final layer that makes a room feel lived-in and personal rather than showroom-blank. This is where accessories, greenery, art and textiles bring the scheme to life.
- Add soft furnishings, cushions, throws and curtains hung high and wide.
- Style surfaces in small groups, varying height and using odd numbers.
- Bring in plants for life, colour and a natural counterpoint to hard surfaces.
- Hang art at eye level, sized to the wall and furniture beneath it.
- Edit at the end, remove anything that does not earn its place.
How do you preview a transformation before you commit?
The biggest risk in any transformation is spending money on a direction that does not work in your actual room. Seeing the finished look first, on your space, with its real light and layout, removes most of that risk.
This is where AI is genuinely useful. Upload a photo to Decorly, choose a style, and get a photorealistic redesign that keeps your real layout in about seconds. Compare a few directions, lock the one you love, and use it as the brief you shop and build toward. The AI interior design guide explains how to get the best results.
Whether it is a quick budget makeover or a full renovation, previewing first turns guesswork into a plan, and a plan is what carries a room from dated to done.
Use this as a quick sequence check before, during and after the work:
- Assessed the room's fixed features, light and function.
- Planned the layout around a clear focal point with open walkways.
- Chosen one style and a 60/30/10 palette.
- Layered ambient, task and accent lighting.
- Selected materials with varied texture and a consistent tone.
- Styled with textiles, plants, art and edited groupings.
- Previewed the finished look before spending.
Frequently asked questions
What is the correct order to transform a room?
Assess the room, plan the layout around a focal point, choose one style and palette, layer the lighting, select materials, then style and finish. Each step constrains the next, so the order prevents rework.
Where do I start when transforming a room?
Start by assessing what you have, fixed features, light and how the room needs to function, then plan the layout. Both are free and everything else builds on them.
What is the 60/30/10 rule?
A palette guide: about 60 percent a dominant neutral, 30 percent a secondary colour, and 10 percent an accent. Keeping large, permanent items neutral and reserving the accent for swappable pieces keeps a room balanced.
How can I transform a room without hiring anyone?
Follow the sequence yourself, layout, style, lighting, materials and styling, and preview the result with an AI tool like Decorly so you commit with confidence. Most cosmetic transformations need no trades.
How do I make a neutral room feel less flat?
Layer texture. Mixing wood, stone, metal and different textiles, plus matte and reflective finishes, gives a simple palette depth and warmth so it reads as considered rather than plain.