Rooms
Studio Apartment Layout Ideas That Work
July 12, 2026 · 10 min read
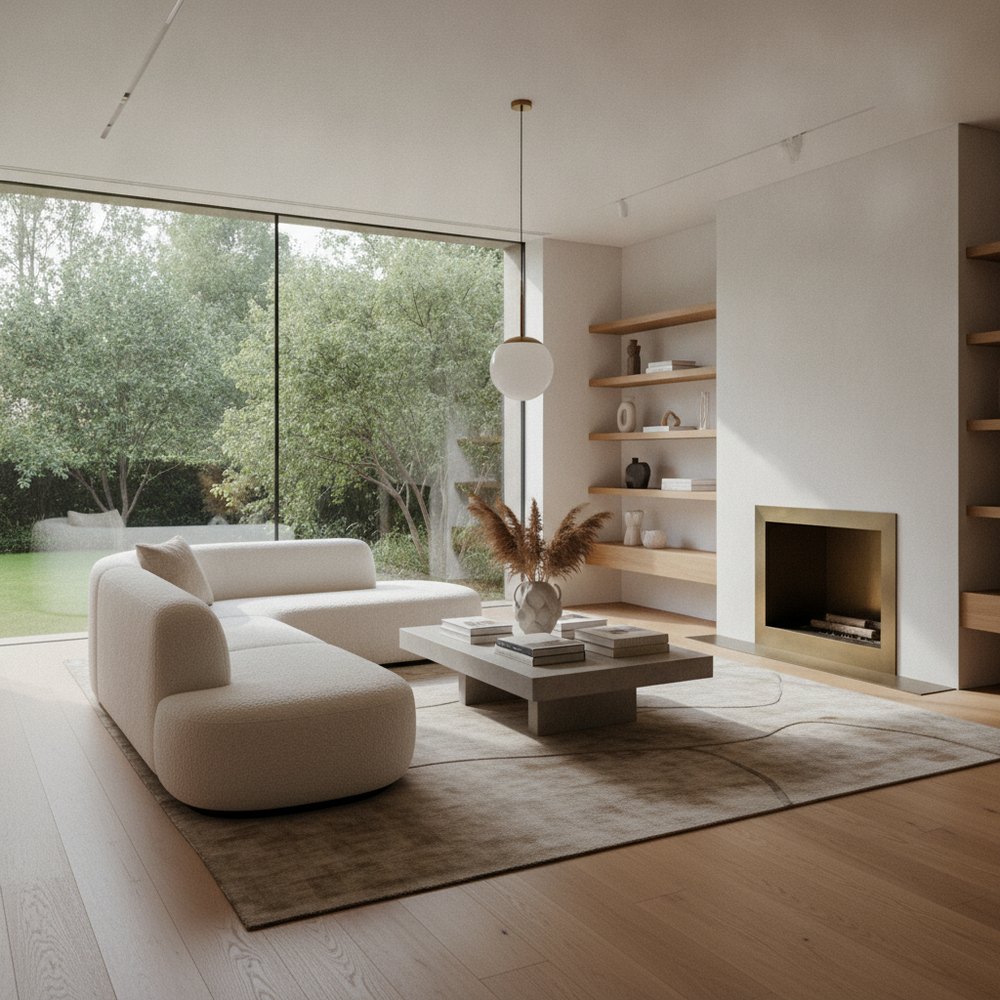
To lay out a studio under about 500 sq ft, divide it into clear zones for sleeping, living and working using rugs, furniture backs and low dividers; choose multipurpose pieces like a sofa bed and a console-desk; build storage upward; and keep the space light and open. Zoning, not walls, is the key.
How do you plan a studio apartment layout?
A studio works when a single room is made to feel like several defined areas rather than one undifferentiated space. The core skill is zoning: giving sleeping, living, working and eating their own visual 'rooms' without building walls that would block light and make everything feel smaller. When each activity has a clear place, a studio feels intentional and calm rather than cramped and chaotic.
Start by mapping the fixed points — the window, the kitchen, the bathroom door, the radiators and sockets — then decide which zone each corner naturally suits. Sleeping usually wants the quietest, most private corner (often furthest from the door); living wants the light and the best sightline; a desk wants daylight from the side. Plan circulation last, keeping clear paths between zones so the room flows.
- Map the fixed points first — window, kitchen, bathroom, radiators and sockets.
- Give every activity a home — sleep, live, work and eat each get a defined zone.
- Bed to the quiet corner — usually furthest from the door for privacy.
- Living to the light — the sofa zone earns the best window and sightline.
- Plan the paths — keep clear routes between zones so nothing feels blocked.
How do you divide a studio without building walls?
You divide a studio with suggestion, not solid walls. A change of floor covering is the simplest signal — a large rug under the living area instantly reads as a distinct 'room'. The back of a sofa is one of the most useful dividers you own: floating it to face the living zone turns its back into a natural boundary for what lies behind, such as a bed or desk.
For a stronger cue that still keeps light flowing, use open or low furniture as a partition — an open-back bookcase, a low shelving run or a slatted screen separates without boxing anything in. Curtains on a ceiling track can close off a sleeping zone when you want privacy and disappear when you don't. The rule is to divide at a height and openness that keeps sightlines and daylight moving across the whole studio.
- Rugs define zones — a large rug under the sofa reads as a separate room.
- Float the sofa as a divider — its back becomes a natural boundary line.
- Open-back shelving — separates zones while letting light pass through.
- A ceiling-track curtain — closes off the bed when wanted, vanishes when not.
- Keep dividers low or open — solid partitions shrink and darken a studio.
How do you separate the sleeping area in a studio?
The bed is the trickiest zone because it wants privacy in a room with none. If you can, tuck it into an alcove or the corner furthest from the entrance and screen it lightly — a curtain, an open shelving unit or the back of a sofa is usually enough to signal 'this is the bedroom' without sealing it off. Positioning the headboard against a divider rather than an open wall gives the bed a sense of enclosure.
Where floor space is truly scarce, let the bed do more than sleep. A sofa bed or daybed returns the footprint to living use by day; a storage bed swallows clothes and bedding underneath; and in tall rooms, a raised or loft bed frees the floor beneath for a desk or seating. Whichever you choose, keep the bedding and styling calm so the sleeping zone reads as restful even though it's on show.
- Choose the quiet corner — furthest from the door, ideally an alcove.
- Screen it lightly — a curtain, shelf unit or sofa back signals a bedroom.
- Sofa bed or daybed — returns the space to living use during the day.
- Storage bed — the space under the mattress holds clothes and linen.
- Go up in tall rooms — a raised or loft bed frees the floor beneath.
What furniture works best in a studio?
In a studio, every piece should earn its footprint, ideally by doing more than one job. Multipurpose and transformable furniture is the difference between a cramped room and a flexible one: a sofa bed sleeps guests, a storage ottoman is seat, table and box in one, a nesting set expands only when needed, and a console that extends becomes a dining table for six and shrinks back to a slim shelf.
Favour pieces on visible legs and with slim profiles so light and floor flow underneath, exactly as in any small room. Fold-down and wall-mounted items — a drop-leaf table, a fold-away desk, a Murphy bed — reclaim the whole floor when not in use. Choose fewer, better, harder-working pieces over lots of single-purpose furniture that clutters the one room you have.
- Sofa bed — living seating by day, guest bed by night.
- Storage ottoman — seat, side table and hidden storage in one.
- Extending console-to-dining table — slim when idle, seats guests when needed.
- Nesting tables — expand only when you want them, tuck away otherwise.
- Fold-away pieces — a drop-leaf table or Murphy bed reclaims the floor entirely.
How do you use vertical space in a studio?
When floor space runs out, the answer is up. Studios usually have far more wall than they use, and building storage vertically keeps the precious floor — the surface that signals openness — as clear as possible. Full-height shelving, tall narrow cabinets and wall-mounted units store a lot in a small footprint and draw the eye upward, which also makes the ceiling feel higher.
Use the walls actively: floating shelves, pegboards, wall hooks and over-door racks keep everyday things off surfaces. Above doors and windows is prime, usually-wasted territory for a shelf that rings the room. And where ceilings are generous, a mezzanine or loft platform can add a whole extra zone — a bed above, a desk or seating below. Keep upper storage reasonably light and leave some breathing space so it reads as design, not density.
- Build storage to the ceiling — tall units store more and lift the eye.
- Work the walls — floating shelves, pegboards and hooks clear surfaces.
- Use above doors and windows — a high shelf rings unused wall space.
- Consider a mezzanine — in tall rooms, a loft adds a whole extra zone.
- Leave breathing space — don't pack every shelf, or it reads as clutter.
How do you keep a studio feeling light and open?
Because a studio is one continuous space, light and colour tie the whole thing together, and a light, cohesive palette makes it feel larger and calmer. Keep a consistent tone across the zones rather than giving each a wildly different scheme — continuity reads as spacious, while too many contrasting areas chop the room up. A minimalist, Scandinavian or Japandi palette suits studios especially well.
Maximise daylight by keeping windows as unobstructed as possible and using slim, light window treatments. A large mirror positioned to reflect the window borrows light and depth across the whole room. Layer artificial light by zone — a pendant over the eating area, a floor lamp by the sofa, a task light at the desk, a soft lamp by the bed — so each area can be lit on its own and the studio feels like several rooms after dark. For the theory, see best lighting for every room.
- Keep the palette cohesive — one light tonal scheme across all zones.
- Maximise the windows — slim treatments and unobstructed glass bring in daylight.
- Add a large mirror — reflect the window to spread light and depth.
- Light each zone — separate lamps let you set the mood area by area.
- Warm-white bulbs — around 2700K keeps the whole studio inviting at night.
How do you handle storage and clutter in a studio?
In one room, clutter has nowhere to hide, so disciplined storage is what keeps a studio livable. Give everything a designated home, lean on closed storage so surfaces stay clear, and use the dead spaces most homes ignore — under the bed, above the wardrobe, behind the sofa, over the door. The less that's visible, the larger and calmer the studio feels.
Be a little ruthless about what you keep, because a studio rewards editing more than any other home. Favour a smaller number of things that each have a place over lots of items competing for one surface. A regular reset — clearing the day's clutter each evening — is part of living well in a studio, and it keeps all that careful zoning legible.
- A home for everything — undesignated items become clutter fast in one room.
- Closed storage wins — cabinets and boxes keep surfaces and sightlines calm.
- Mine the dead space — under the bed, above the wardrobe, behind the sofa.
- Edit what you keep — a studio rewards fewer, better-placed possessions.
- Reset daily — a quick evening tidy keeps the zoning legible.
How can you preview a studio layout with AI?
Studios are all about arrangement, and moving heavy furniture around a single room to test ideas is exhausting. Previewing the layout on a photo first saves the effort and the mistakes. AI interior design lets you redesign a photo of your actual studio while keeping the real walls, windows and proportions, so you can test zoning, dividers and multipurpose pieces before you commit.
With Decorly, photograph the room, pick a light, cohesive style and generate several versions: try the bed in different corners, a sofa floated as a divider, a low shelving partition and tall vertical storage. Compare them, choose the arrangement that flows best, and use it as your plan. For more on making individual zones feel bigger, see our small living room ideas and home office design ideas.
- 1Photograph the whole studio in daylight — capture the walls, window and proportions.
- 2Upload to [Decorly](/) and pick a cohesive light style — it ties the zones together.
- 3Test zoning options — bed corner, sofa divider, low partition, vertical storage.
- 4Choose the best flow — build the version with the clearest zones and paths.
Frequently asked questions
How do you lay out a studio apartment?
Divide the single room into clear zones for sleeping, living, working and eating using rugs, the backs of furniture and low or open dividers instead of solid walls. Put the bed in the quietest corner, the living area by the light, and keep clear paths between zones so the space flows.
How do you divide a studio without walls?
Use suggestion rather than solid partitions: a large rug to define the living area, a floated sofa whose back becomes a boundary, an open-back bookcase or low shelving run, and a ceiling-track curtain to screen the bed. Keep dividers low or open so light and sightlines flow.
What furniture is best for a studio apartment?
Multipurpose, transformable pieces that earn their footprint: a sofa bed, a storage ottoman, an extending console-to-dining table, nesting tables and fold-away items like a drop-leaf table or Murphy bed. Choose slim, leggy profiles so light and floor flow underneath.
How do you get more storage in a studio apartment?
Build upward with full-height and wall-mounted storage, mine dead spaces under the bed, above the wardrobe and behind the sofa, and favour closed storage to keep surfaces clear. Editing what you own and a daily reset keep a one-room home livable.
How do you make a studio apartment feel bigger?
Keep one light, cohesive palette across all zones, maximise daylight with slim window treatments, add a large mirror to reflect the window, and keep the floor clear with vertical storage. Cohesion and reflection make a single small room read as larger and calmer.